Calendar Planner is a SharePoint Framework (SPFx) web part for Microsoft 365 tenants. This guide walks through installation, configuration, licensing activation, and initial setup.
Before you start
Required
Recommended
Installation
Install from the Microsoft Marketplace
Calendar Planner is published on the Microsoft commercial marketplace and installs into your Microsoft 365 tenant in a single click.
- Open the Calendar Planner listing on the Microsoft Marketplace.
- Click Get it now. Microsoft will sign you in and ask which tenant to install into.
- Confirm. Microsoft deploys the SPFx web part to your tenant's SharePoint App Catalog automatically — no manual
.sppkgupload required.

The Free tier is genuinely free and includes a 30-day Enterprise trial so you can evaluate every feature. Standard and Enterprise plans are available from the same listing.


Install from the Microsoft Marketplace
Calendar Planner is published on the Microsoft commercial marketplace and installs into your Microsoft 365 tenant in a single click.
- Open the Calendar Planner listing on the Microsoft Marketplace.
- Click Get it now. Microsoft will sign you in and ask which tenant to install into.
- Confirm. Microsoft deploys the SPFx web part to your tenant's SharePoint App Catalog automatically — no manual
.sppkgupload required.
The Free tier is genuinely free and includes a 30-day Enterprise trial so you can evaluate every feature. Standard and Enterprise plans are available from the same listing.
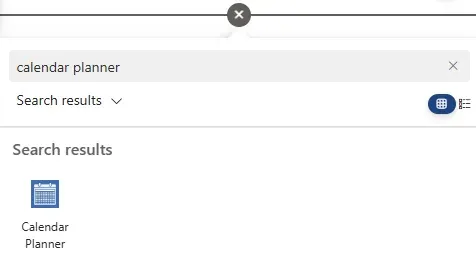
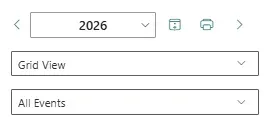
Adding the web part to a page
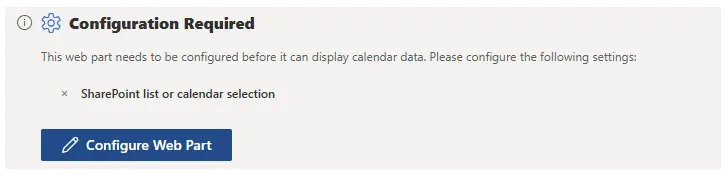
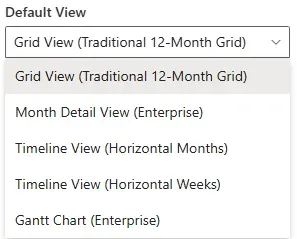
Initial configuration
Open properties
Once added, click Configure Web Part to open the properties pane.

Open properties
Once added, click Configure Web Part to open the properties pane.
Licensing activation
Calendar Planner validates your subscription using a secure SaaS licensing check.
How it works
- The web part automatically detects your Microsoft 365 tenant ID
- It transmits only the tenant ID and app ID over HTTPS
- No personal or event data is transmitted
- Valid licences activate the app immediately
If your licence cannot be validated, you’ll see an in-app message with steps to resolve.
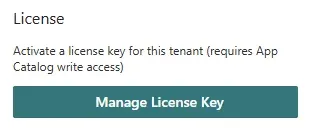
Manage your licence at the bottom of the web part property pane. Click Manage License Key to open the activation pane.
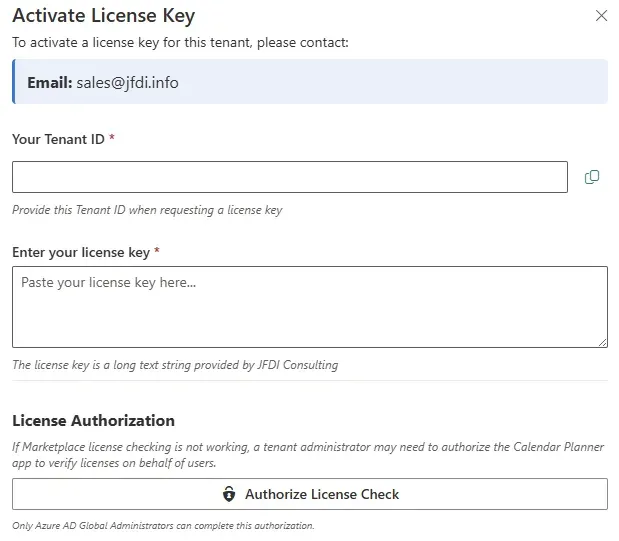
Clicking Manage License Key opens the Activate License Key pane; paste your key and confirm.
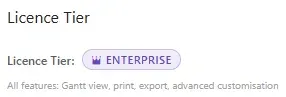
Once validated, the active licence tier appears at the top of the property pane.
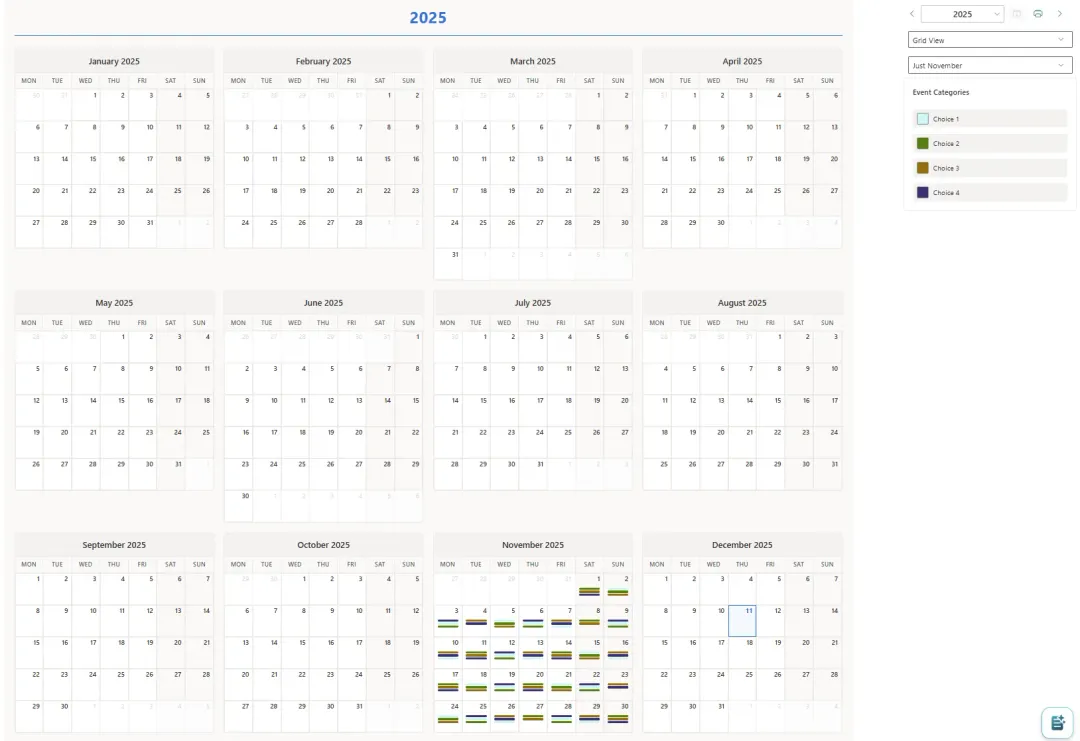
Using Calendar Planner
Create events from the calendar
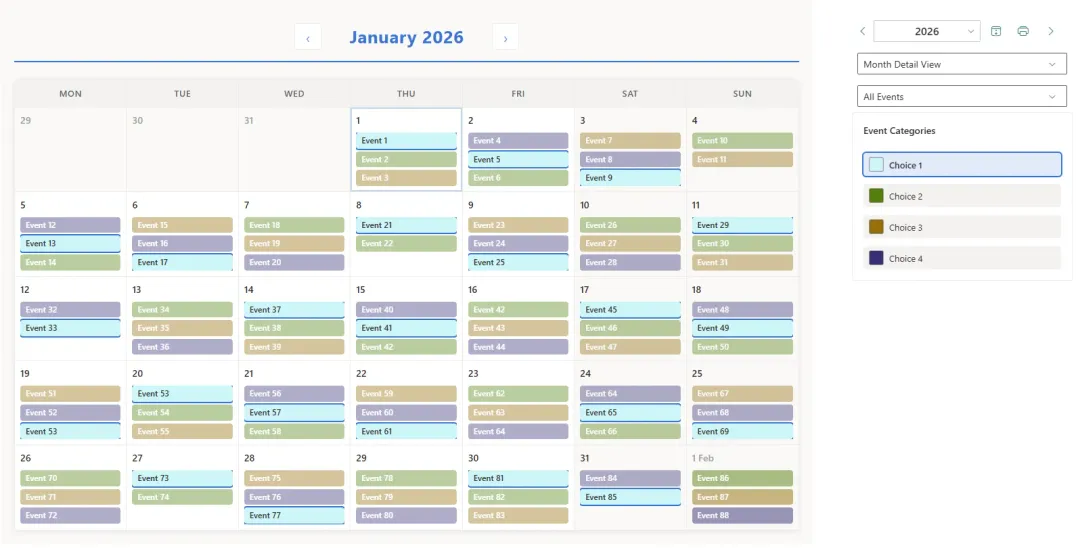
- Select any date to view its events in a side panel
- Click Add Event in the top-right corner of the panel
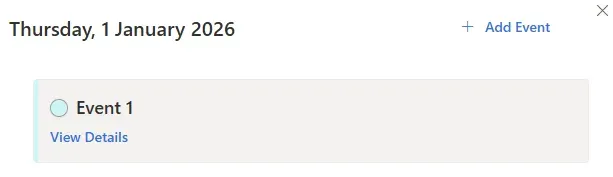
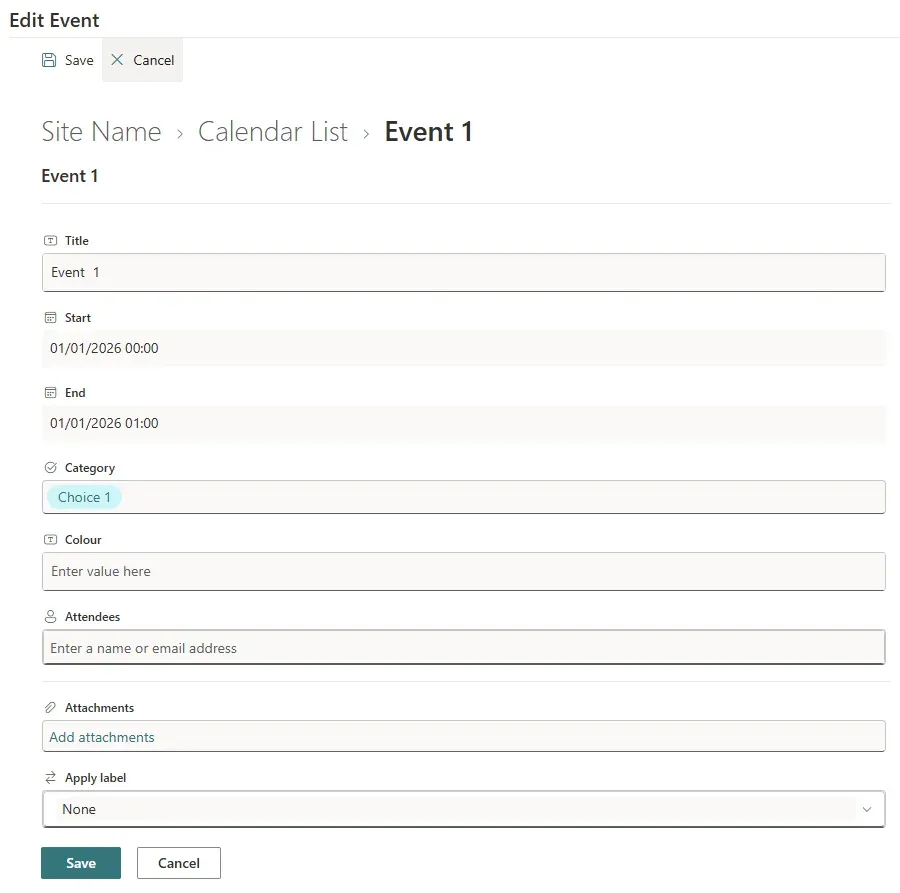
- Enter at least Title, Start, and End dates
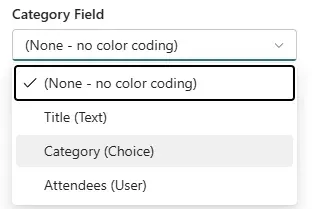
- Select a Category (if configured)
- Save


Create events from the calendar
- Select any date to view its events in a side panel
- Click Add Event in the top-right corner of the panel
- Enter at least Title, Start, and End dates
- Select a Category (if configured)
- Save
Troubleshooting
Web part not appearing in the gallery?
List not created?
Licence validation error?
Permissions
Calendar Planner respects SharePoint permissions. No data leaves your Microsoft 365 tenant.
| SharePoint Permission | Calendar Planner Behaviour |
|---|---|
| Read | User can view events |
| Contribute | User can add their own events to existing lists |
| Full Control | Full event management |
Helpful resources
Support
FAQ and troubleshooting.
Features
Every view and capability in detail.
Sign Up
Subscribe via the marketplace or by invoice.
Ready to plan better?
Calendar Planner is available free on the Microsoft Marketplace, with a 30-day Enterprise licence included so you can try every feature.